


Related Posts

How To Build an AI Agent Without Coding
I’ve heard many people say that building an AI app or AI agent “isn’t for people like us” or that…

5 Key Business Growth Success Patterns
Lets face it. It’s easy for companies, especially those of small and medium scale, to get lost in the multitude…
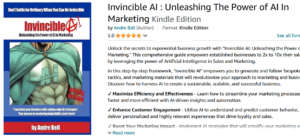
Exploring “Invincible AI”
Earlier I was thrilled to share the news that the updated digital edition of my book, “Invincible AI: Unleashing the…